Micro hardness tester M Series
Manufacturer: ATM Qness GmbH - Germany
Origin: Austria
Home > Hardness testing machines
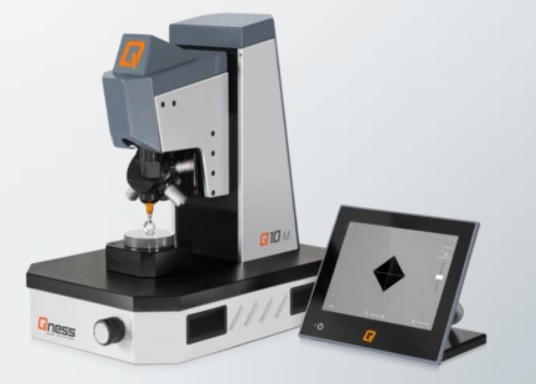
TEST METHODS AND FORCE APPLICATION:
Q10M: 50g - 10kg
Q30M: 100g - 31.25kg
Q60M: 200g - 62.5kg
Vickers
DIN EN ISO 6507, ASTM E-384, ASTM E92
HV 0.00025, HV 0.0005, HV 0.001, HV 0.002, HV 0.005, HV 0.01, HV 0.02, HV 0.025, HV 0.05, HV 0.1, HV 0.2, HV 0.3, HV 0.5, HV 1, HV 2, HV 3, HV 5, HV 10, HV 20, HV 30, HV 50, HV 60
Knoop
DIN EN ISO 4545, ASTM E-384, ASTM E92
HK 0.00025, HK 0.0005, HK 0.001, HK 0.002, HK 0.003, HK 0.005, HK 0.01, HK 0.02, HK 0.025, HK 0.05, HK 0.1, HK 0.2, HK 0.3, HK 0.5, HK 1, HK 2
Brinell
DIN EN ISO 6506, ASTM E-10
HBW 1/1, HBW 1/2.5, HBW 1/5, HBW 1/10, HBW 1/30, HBW 2.5/31.25, HBW 2.5/62.5, HBW 5/62.5 (> 30 HBW)
Integrated conversions:
DIN EN ISO 18265, DIN EN ISO 50150, ASTM E-140
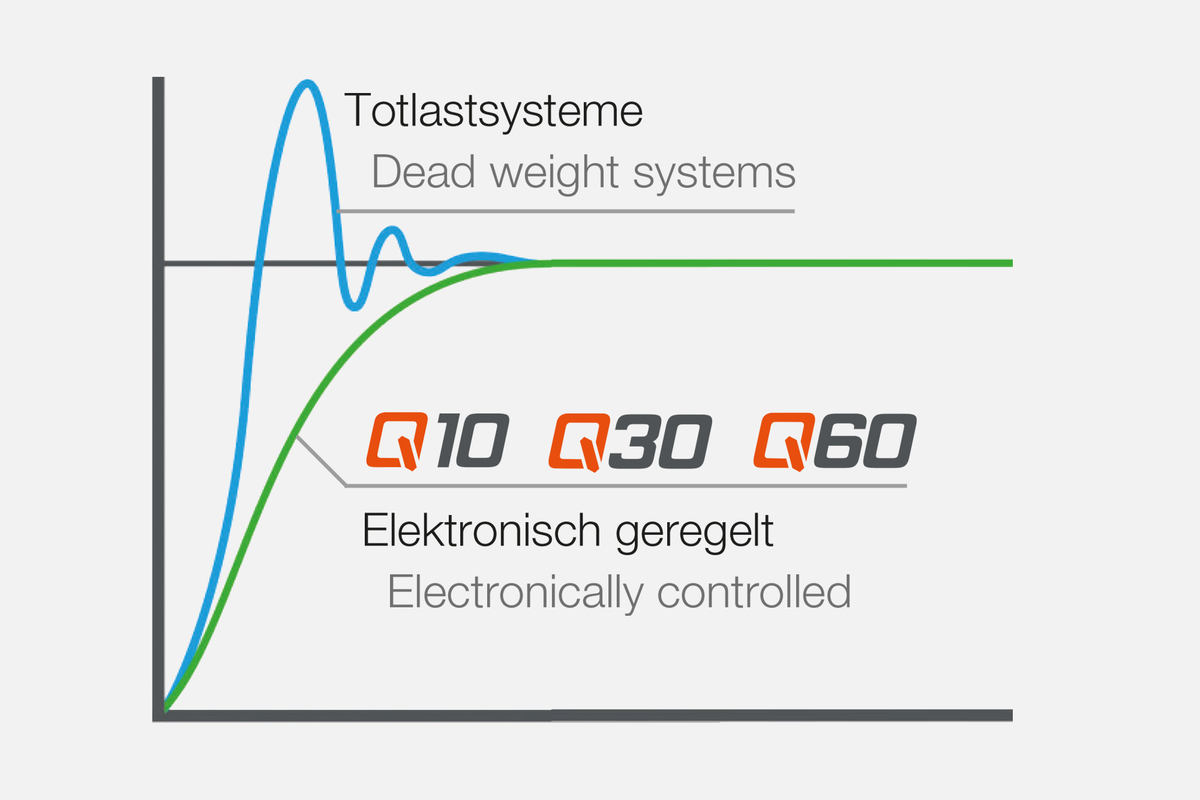
CLOSED LOOP
Electronically controlled test forces ensure quick and precise hardness testing as well as rapid test method changeover (maintenance free) and automatic recognition of the focus height.
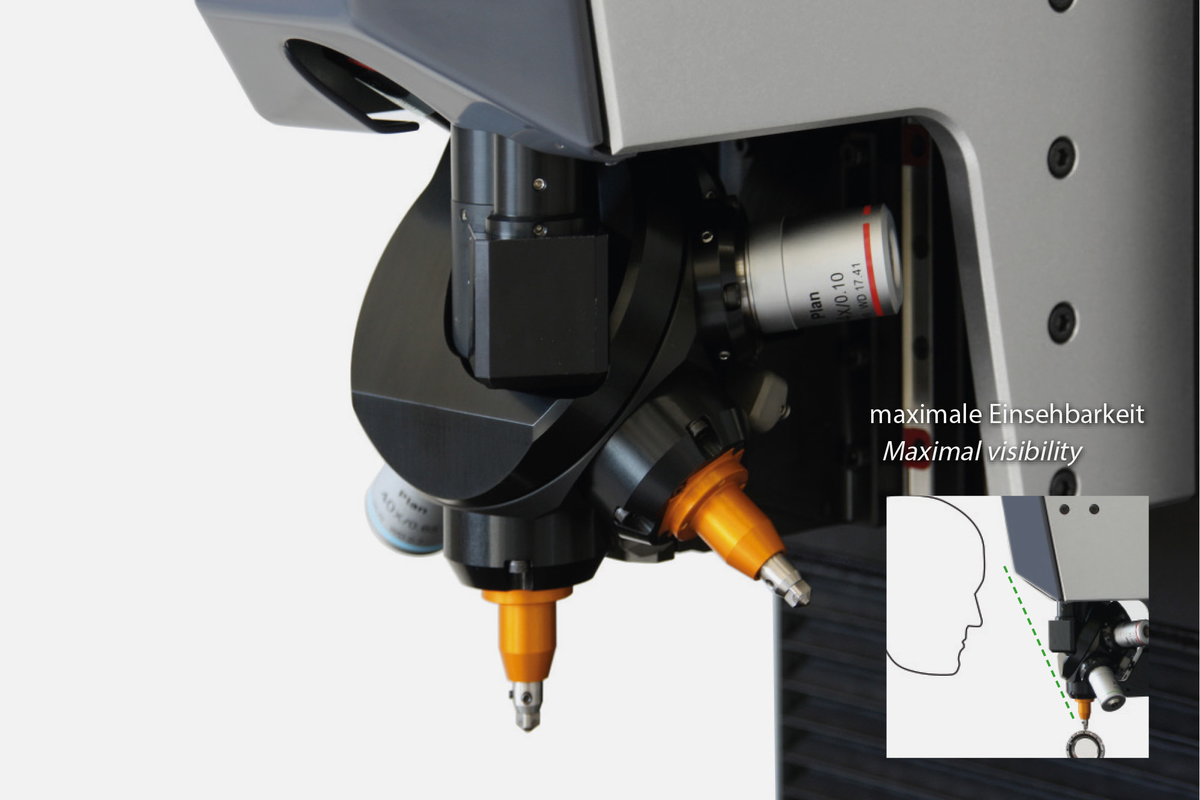
6-FOLD MEASUREMENT TURRET
The 6-fold measurement turret is supplied as standard in all models and offers space for various test methods. For example it can be equipped with 3 different magnification lenses and the corresponding penetrators for Vickers, Knoop or Brinell.
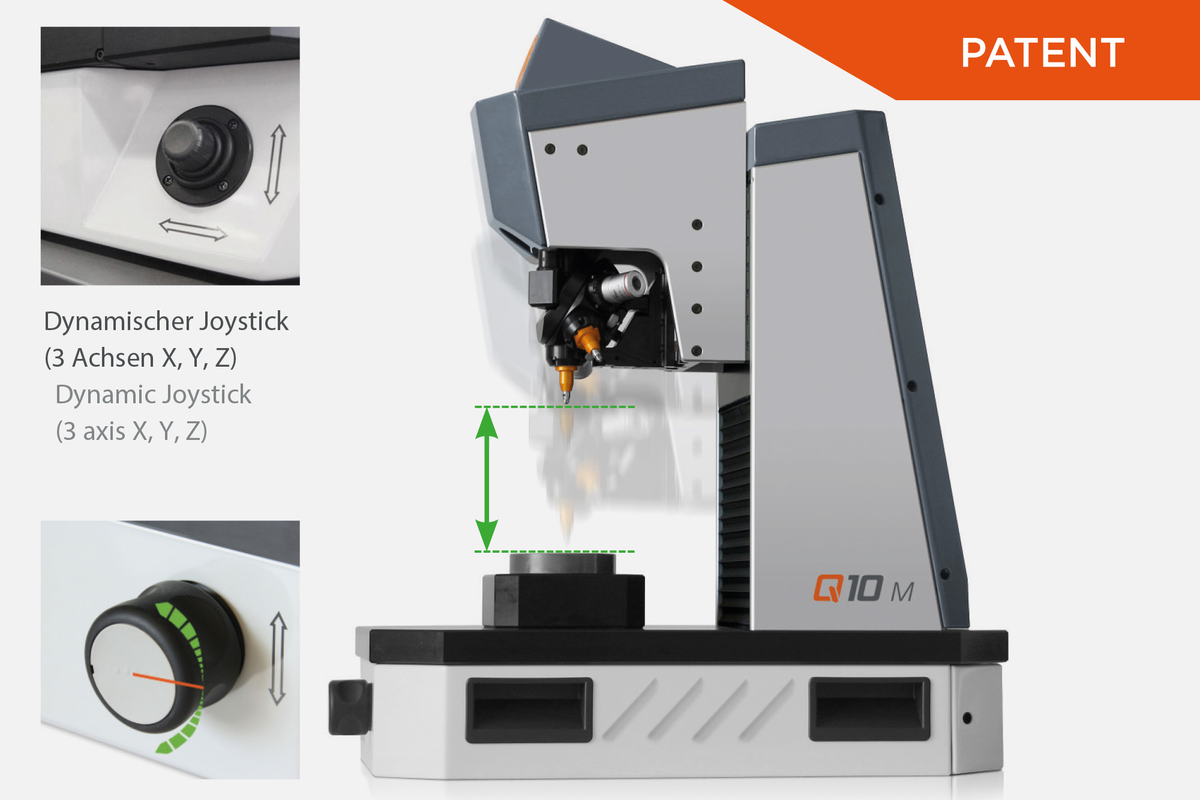
DYNAMIC HEIGHT ADJUSTMENT
The electronic movement control allows a quick, accurate and sensitive movement of the nose cone. Forceless, sharply and collision-proof positioning above the rotation-angle (0.01 up to 20 mm/s). An additional Z-axis makes this helpful function possible.

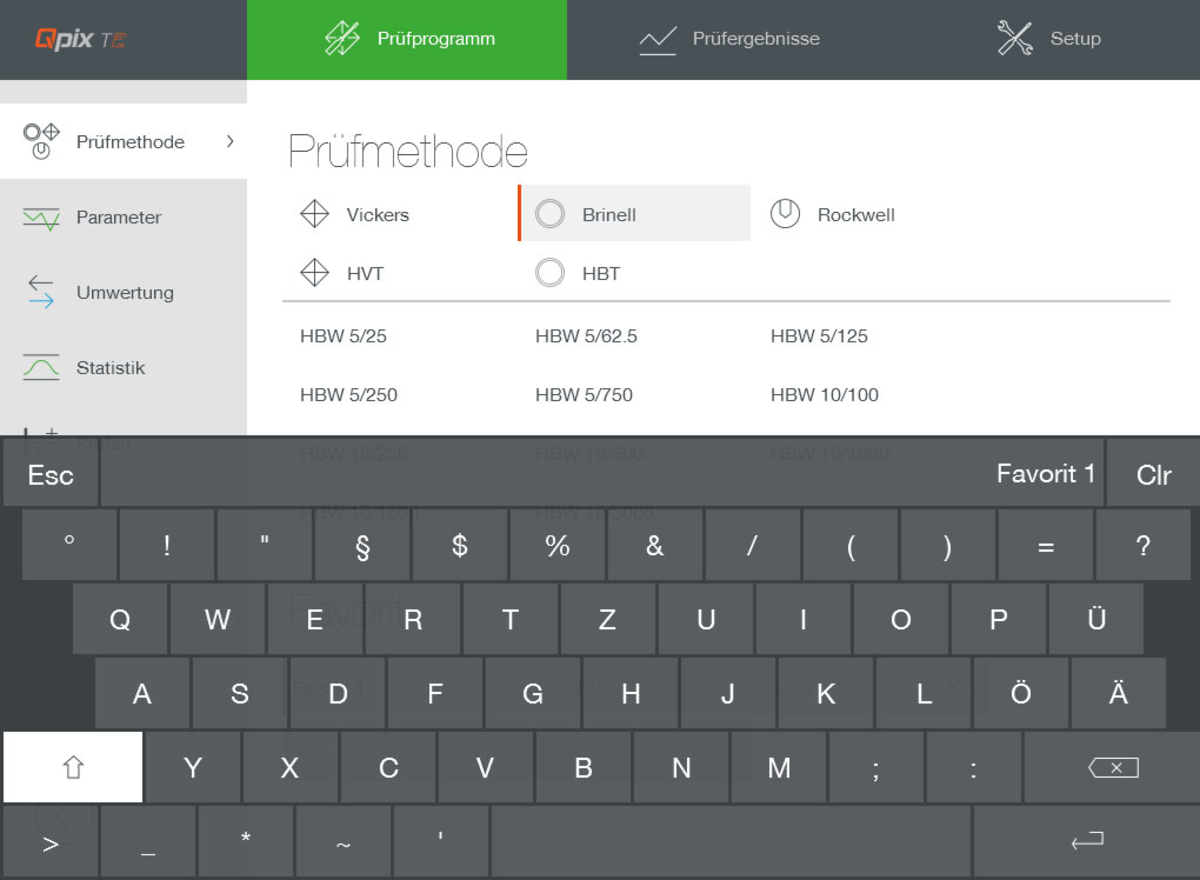
QPIX T2 SOFTWAREULTRA SIMPLE 12" TOUCHSCREEN OPERATION
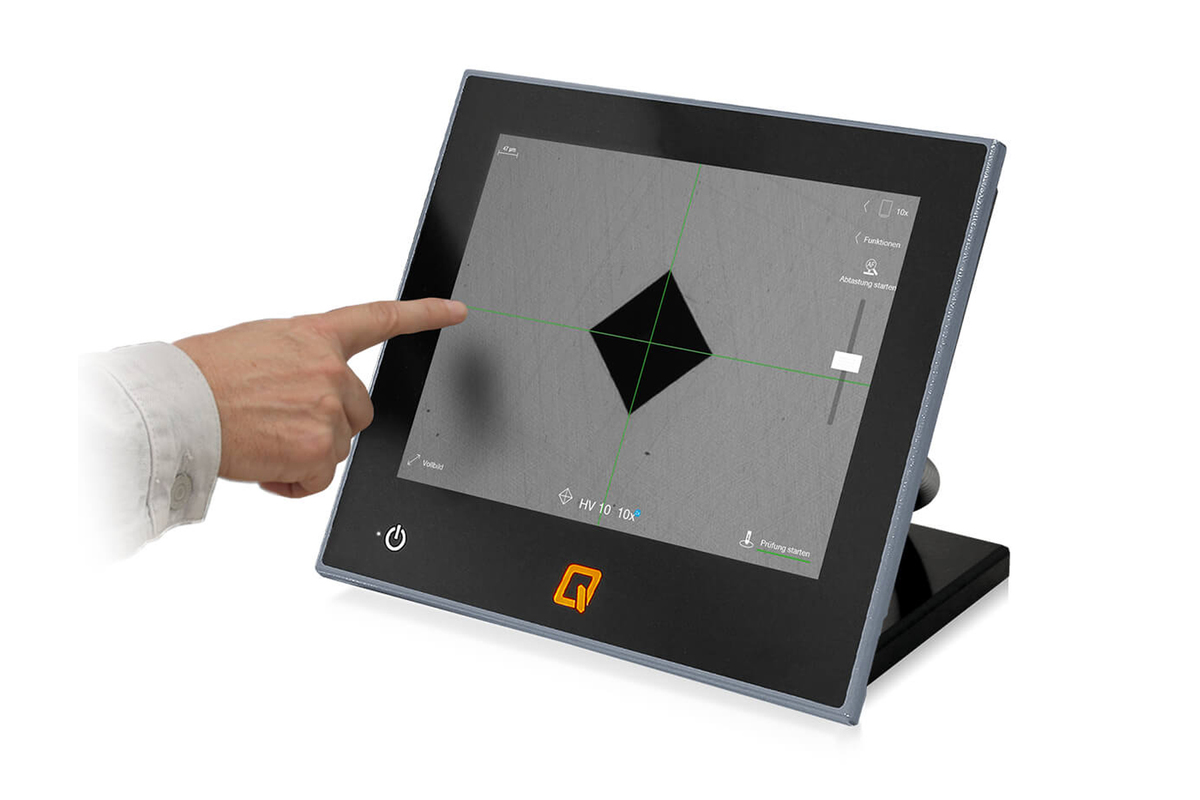
- Across-the-line software design
- Fully automatic image analysis
- 4x zoom as standard for each lens - Quick auto-focus
- Possibility for manual remeasurement
- Numerous statistic functions: bar graph, progression, histogram
- Measurement value list to export as „Excel“ (CSV via export configurator)
- Detailed information to each indent according to standard
- A4 protocol as PDF / direct print
- User management with diff erent security access levels
More Information about the Qpix T2 Software ›
Data management & test report creation
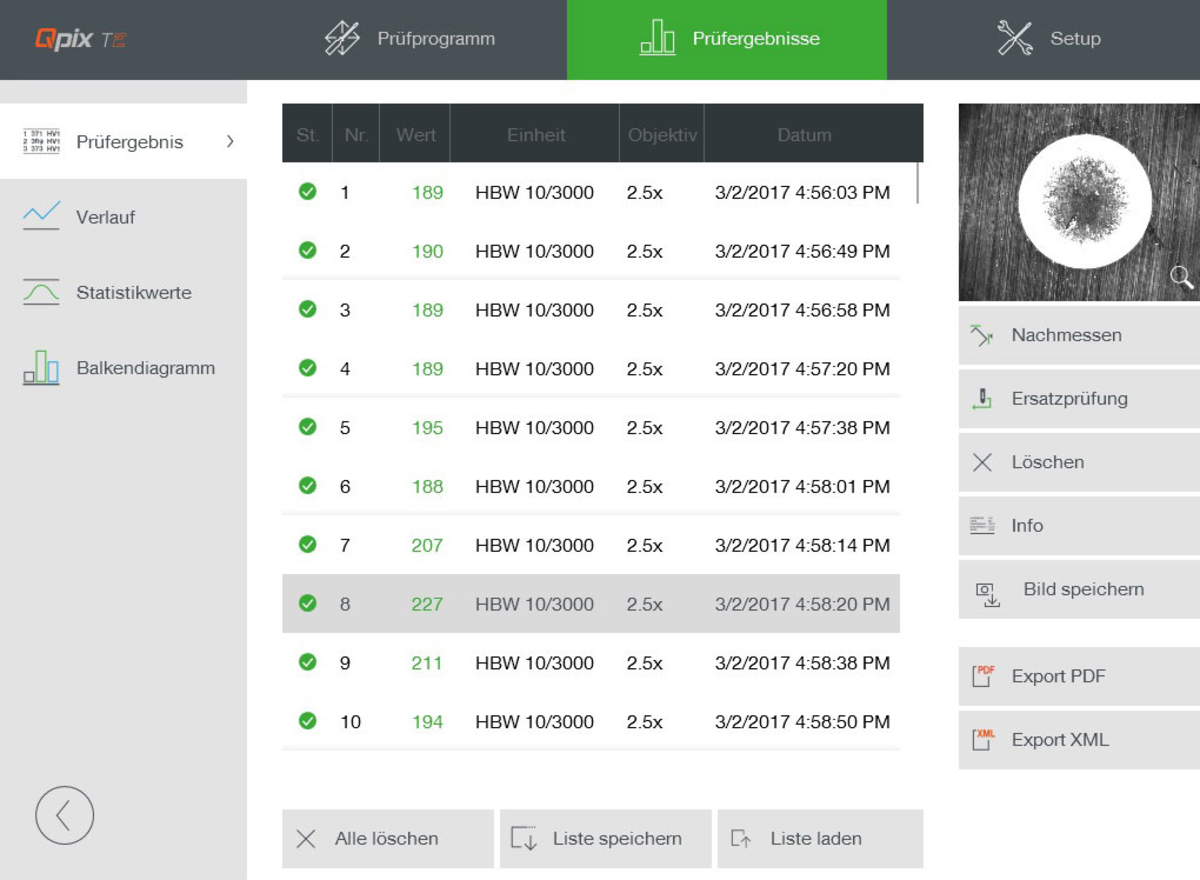
Numerous statistics
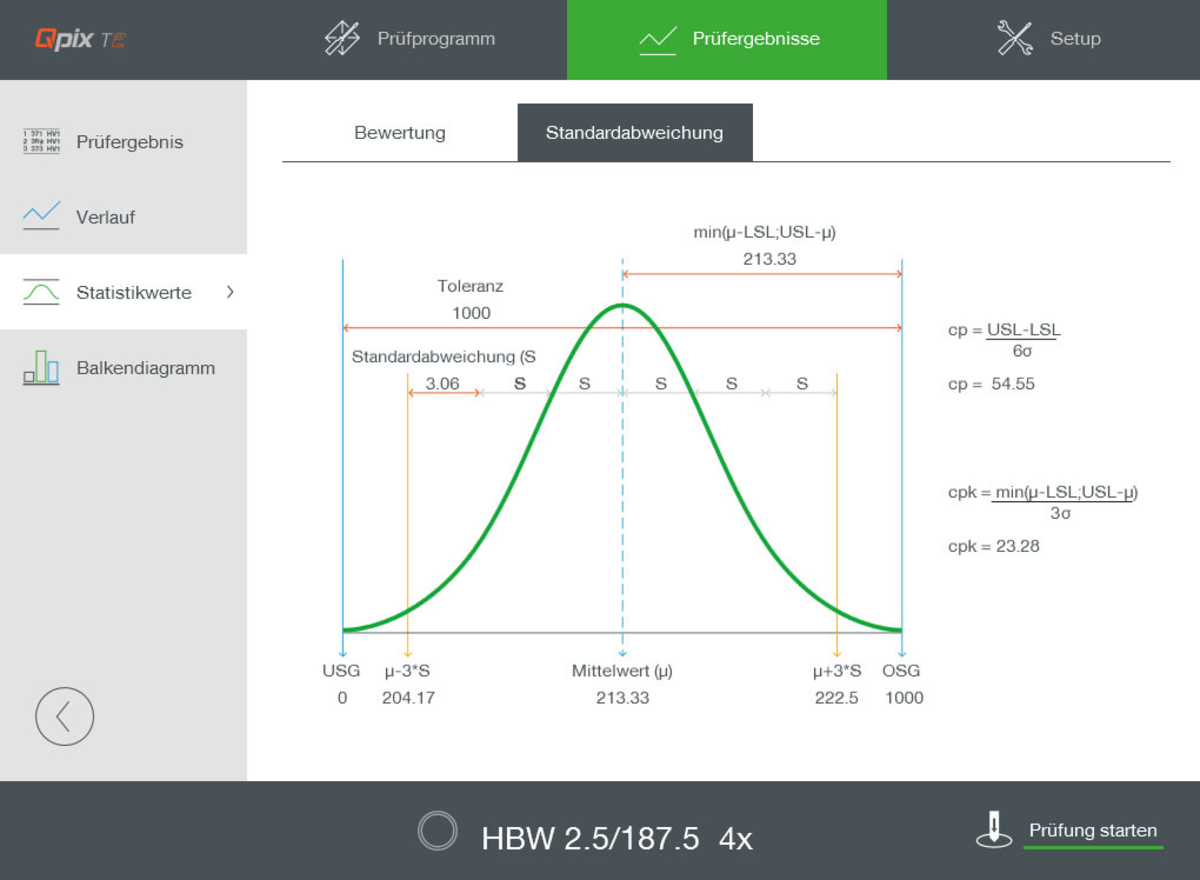
CHD progression
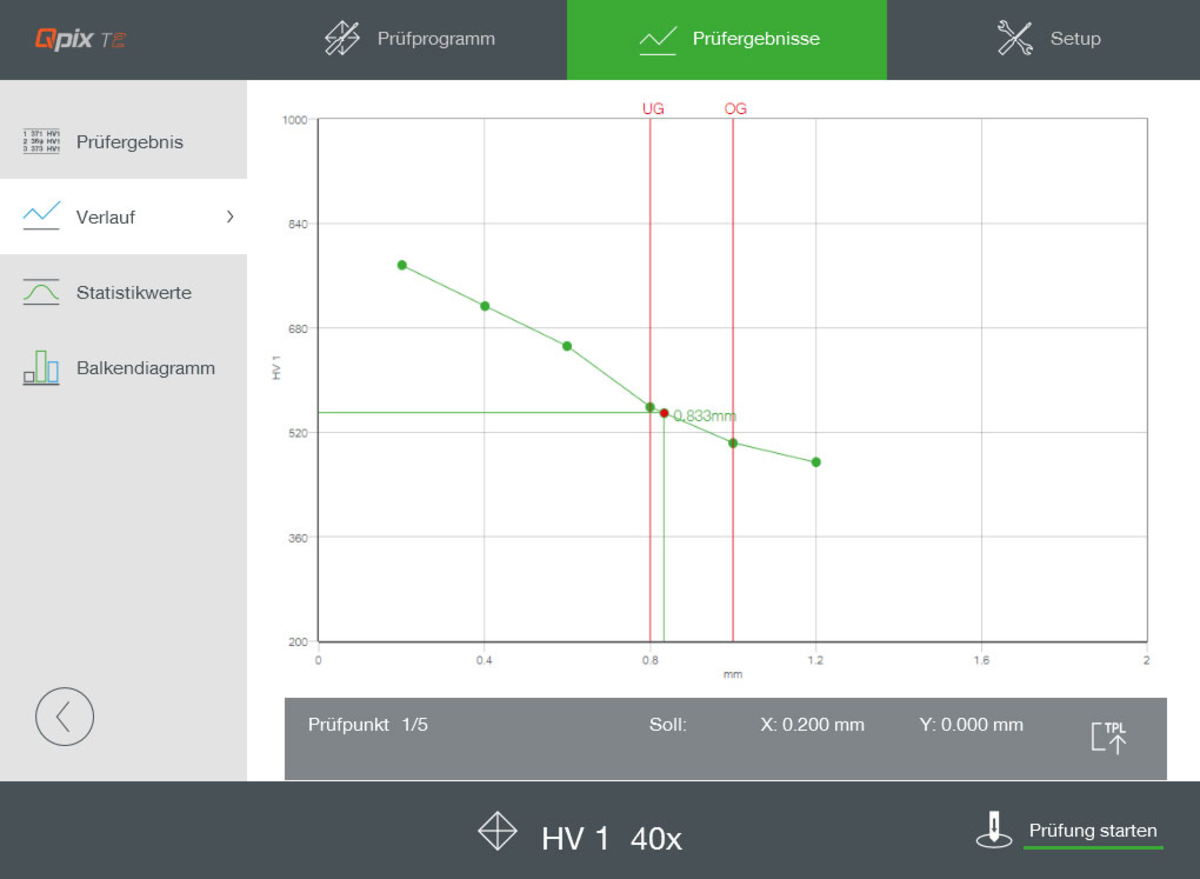
Input by virtual keyboard
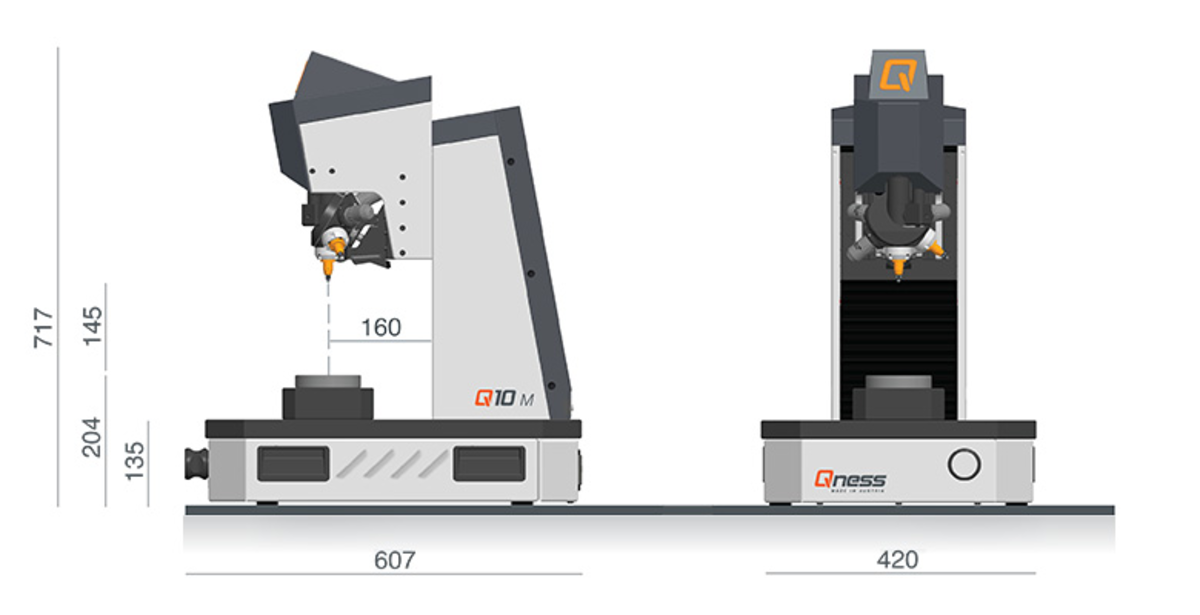
Q10/30/60 M VARIANTTECHNICAL DATA
| Test force range | Q10M: 50 g - 10 kg (0.49 - 98.1 N) Q30M: 100 g - 31.25 kg (0.98 - 306.6 N) Q60M: 200 g - 62.5 kg (1.96 - 613.1 N) |
| Test force range with extension | Q10M: 0.25 g - 10 kg (0.00245 - 98.1 N) Q30M: 0.25 g - 31.25 kg (0.00245 - 306.6 N) Q60M: 0.25 g - 62.5 kg (0.00245 - 613.1 N) |
| Tool changer | 6-fold, motorized |
| Software | Qpix T2 |
| Test anvil | ∅ 100 mm |
| Traverse path | Z 145 mm |
| Weight of basic machine | 52 kg |
| Data interface | 3x USB, 1x Ethernet, 1x RS232 |
| Camera system | 18 MP color camera |
| Max. workpiece weight | 50 kg |
| Power supply | 230~1/N/PE, 110~1/N/PE |
| Max. power consumption | ~200 W |
Accessories and Options |
|
| General | Lenses (2.5x, 4x, 10x, 20x, 40x, 65x, 100x) Penetrators (Vickers, Knoop, Brinell) |
| Sample holder | 1-fold (Ø 30 / 40 / 50 mm) |
| Cross anvil | Manual Dimensions 150 x 150mm Traverse path X 25 x Y 25 via analogue or digital installation micrometer |


